You don’t have to wait for spring to escape the winter blues and start gardening. An indoor plant wall is a DIY project that not only creates a green ambience and a great eye-catcher, but can also have a positive effect on the indoor climate and acoustics. In addition, you have full control over the size, design and costs, as a DIY plant wall is often cheaper than commercially available prefabricated systems.
When choosing a location, you should select a wall that receives sufficient natural light or offers the option of installing additional LED plant lighting. Structured planning lays the foundation for a stable, individual and permanently green plant wall in the living room. It is best to start with a detailed sketch of your chosen wall and make a list of the materials required.
Materials list for a self-made plant shelf
Wooden slats and/or squared timber for frames and struts, alternatively copper pipes can also be used as crossbars
Wooden shelves of sufficient material thickness depending on size and load capacity
Wood screws; alternatively wooden dowels, glue and screw clamps
Sandpaper (grit 120-240)
Tape measure, pencil and spirit level
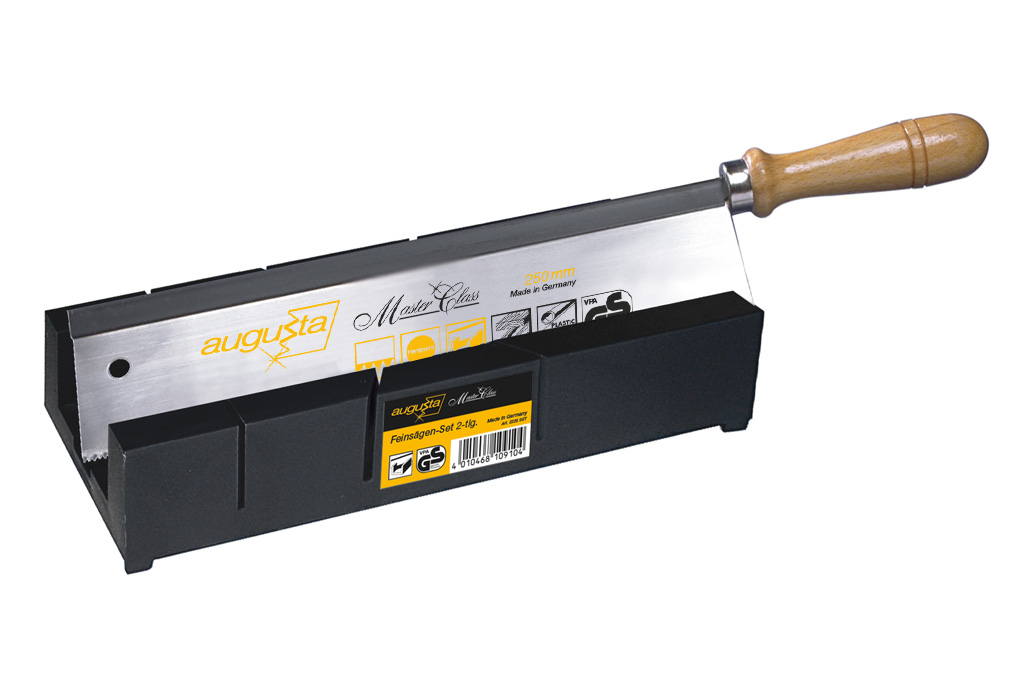
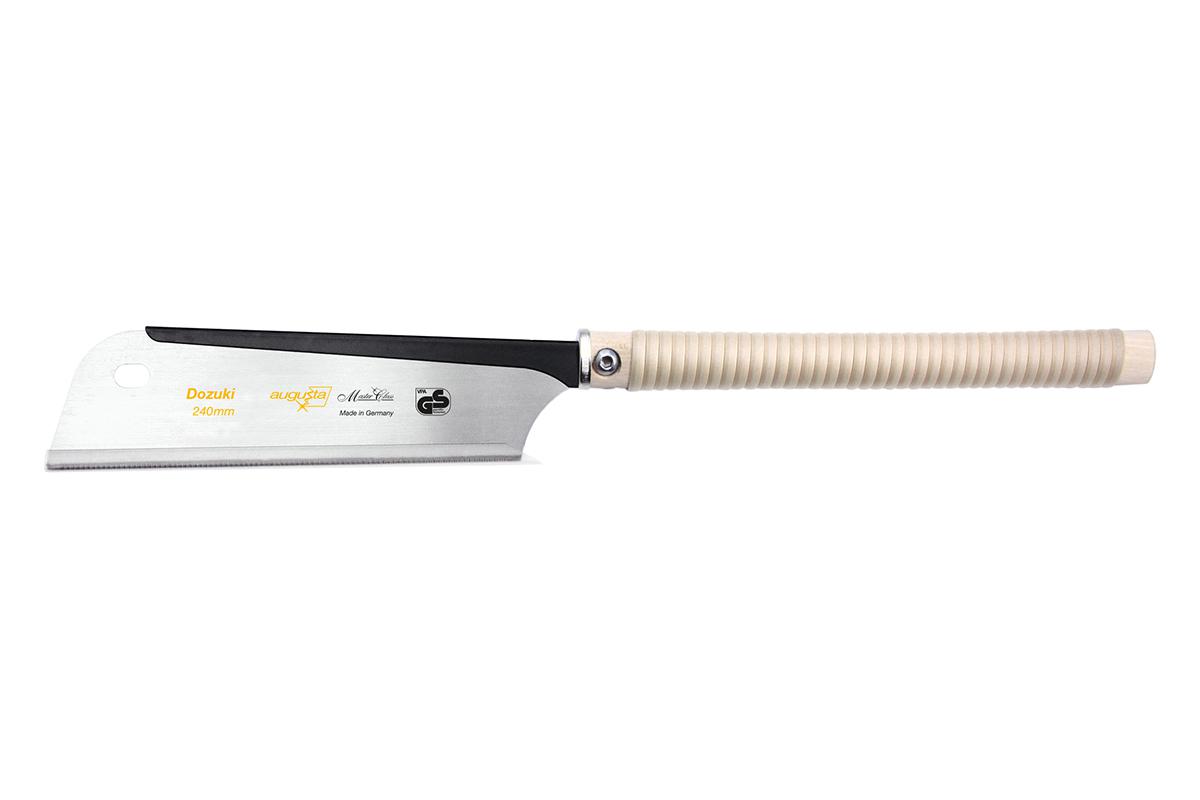
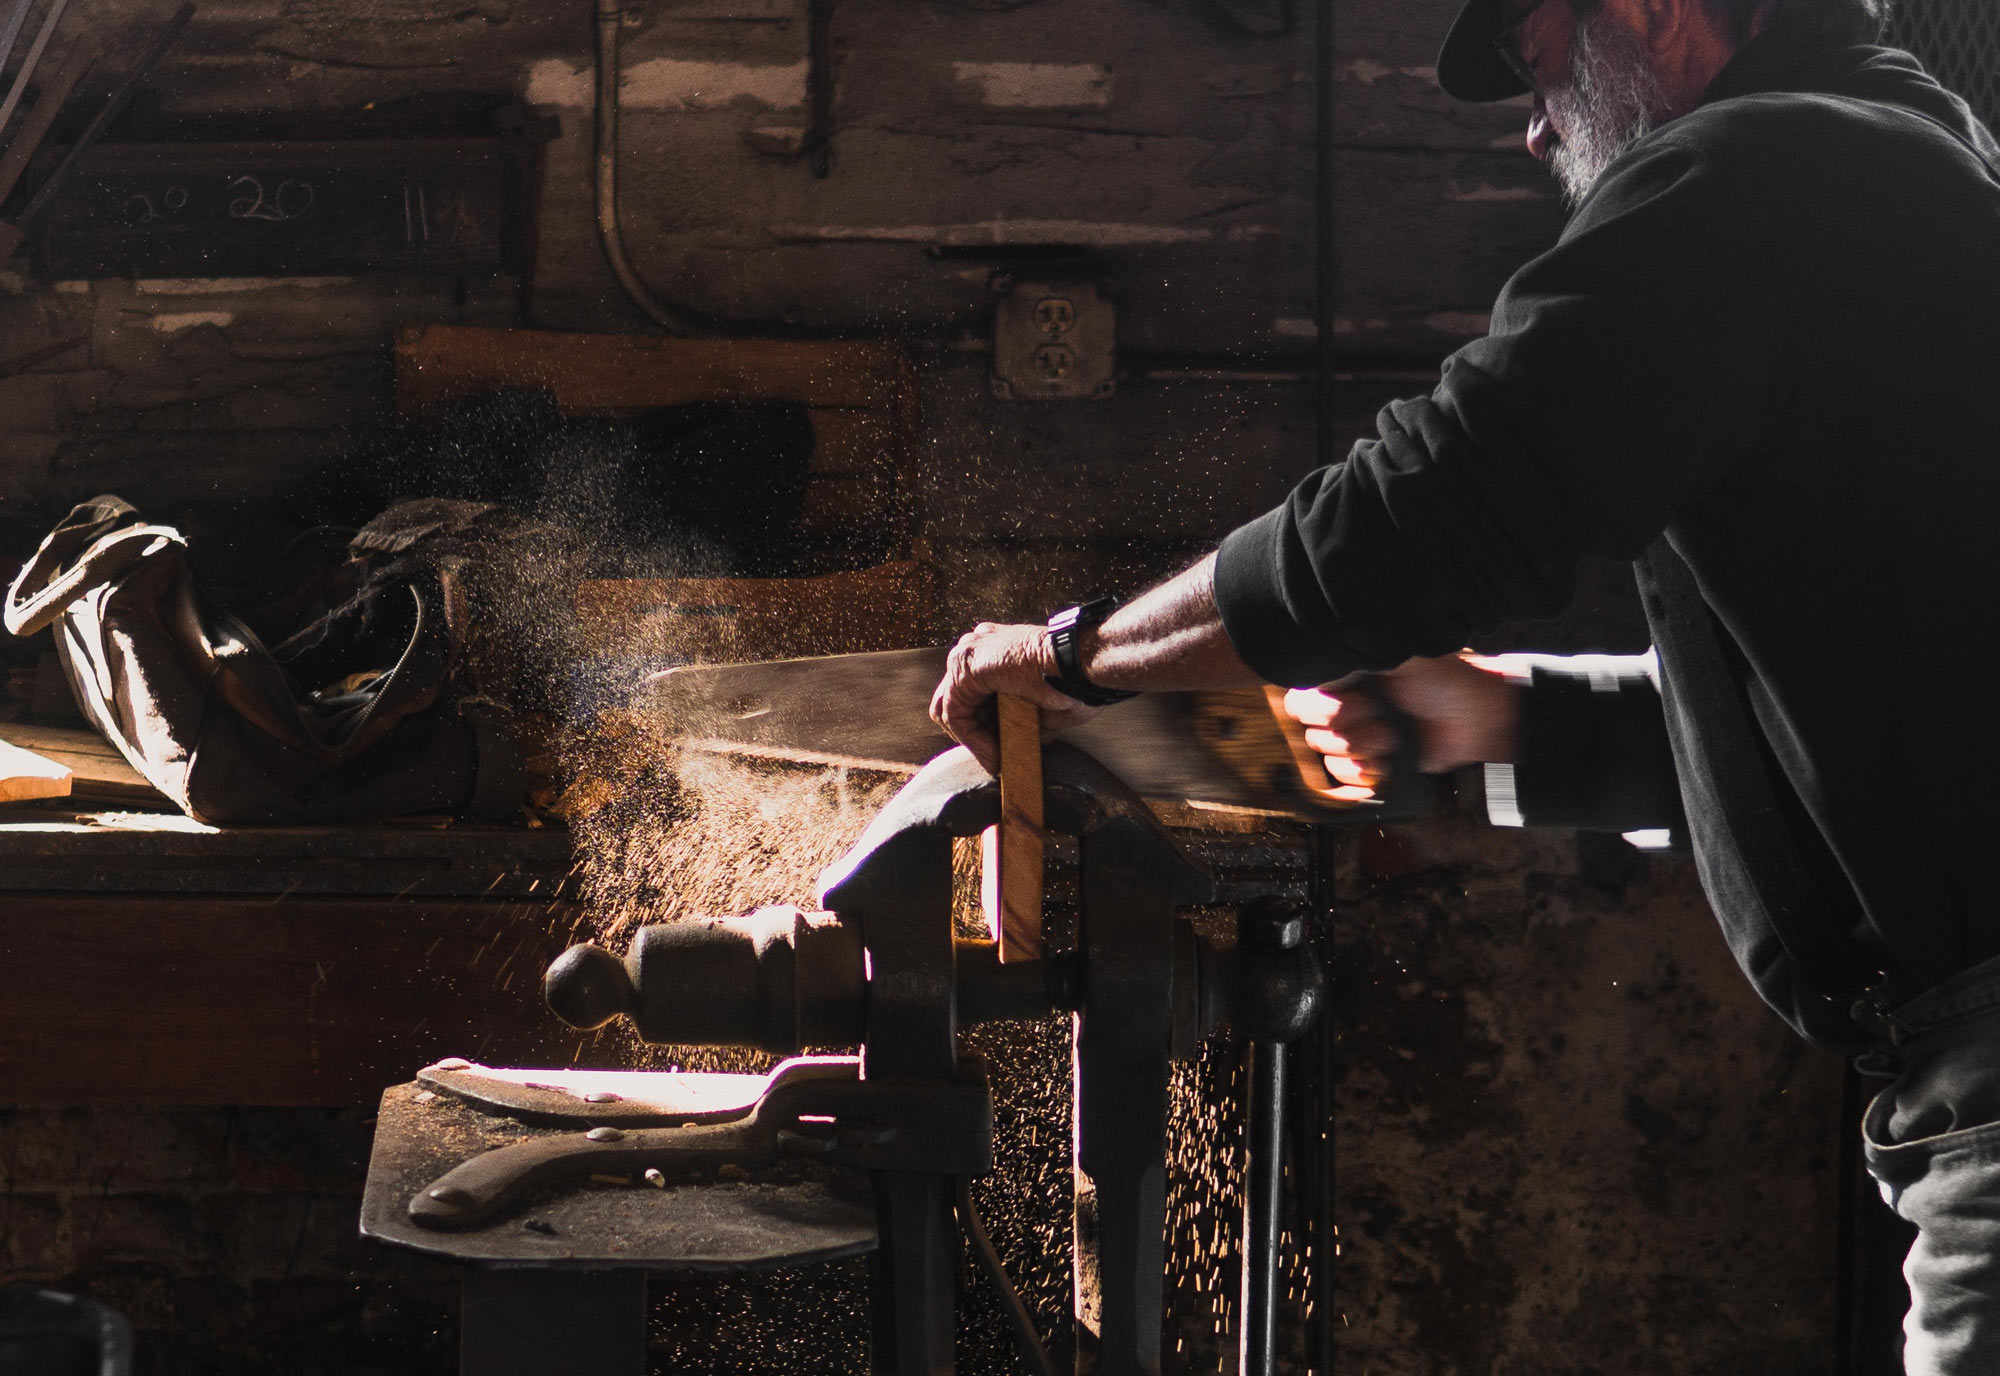
Saw for fine wood and furniture making, e.g. fine saw or Japanese saw and fox saw with fine teeth
Cordless screwdriver/drill
Optional wood preservative or varnish; brush
Wall plugs, screws and brackets for wall mounting
MATCHING PRODUCTS IN THE STORE
Offer
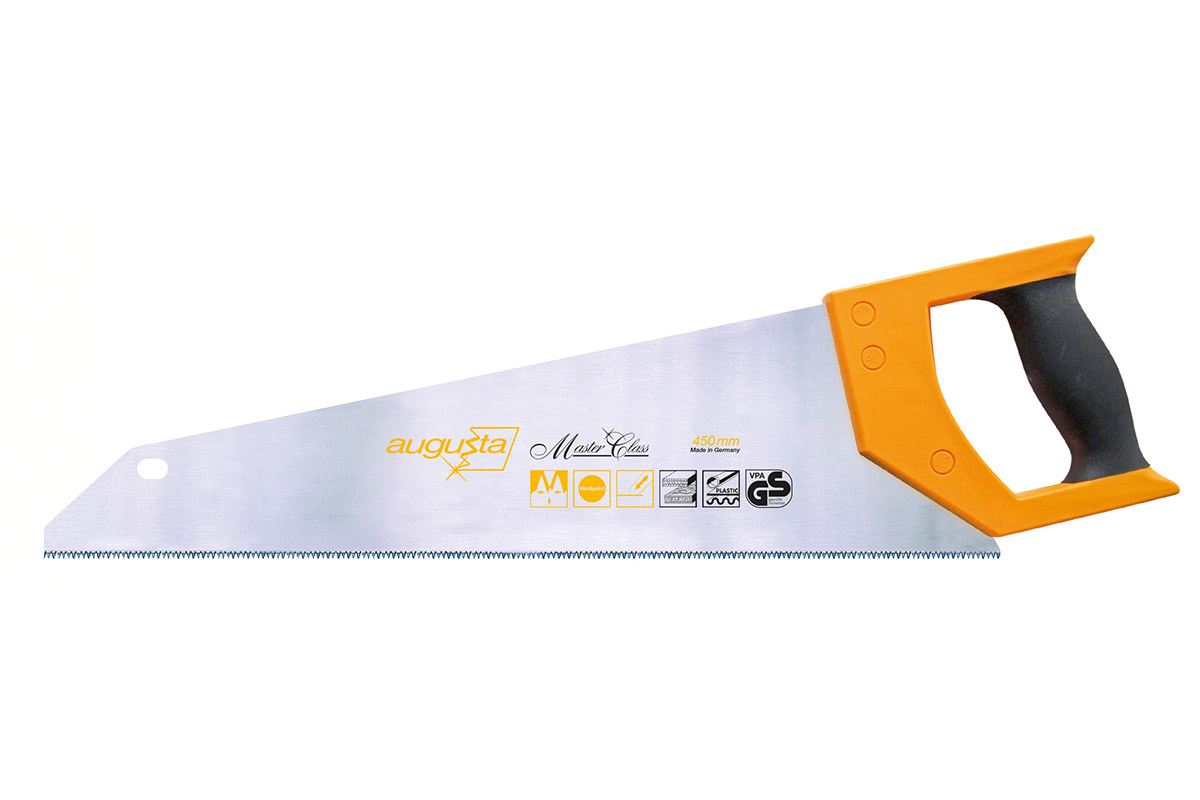
Rip saw, 450 mm
For blockboard/plywood panels, glued laminated timber and PVC
Well suited for furniture construction
Hardened teeth with fine three-sided diamond cut for precise cuts
How big should the plant shelf be? Plan the height, width and depth depending on the space available and the number of plants. Calculate the required number and length of wooden slats based on the dimensions.
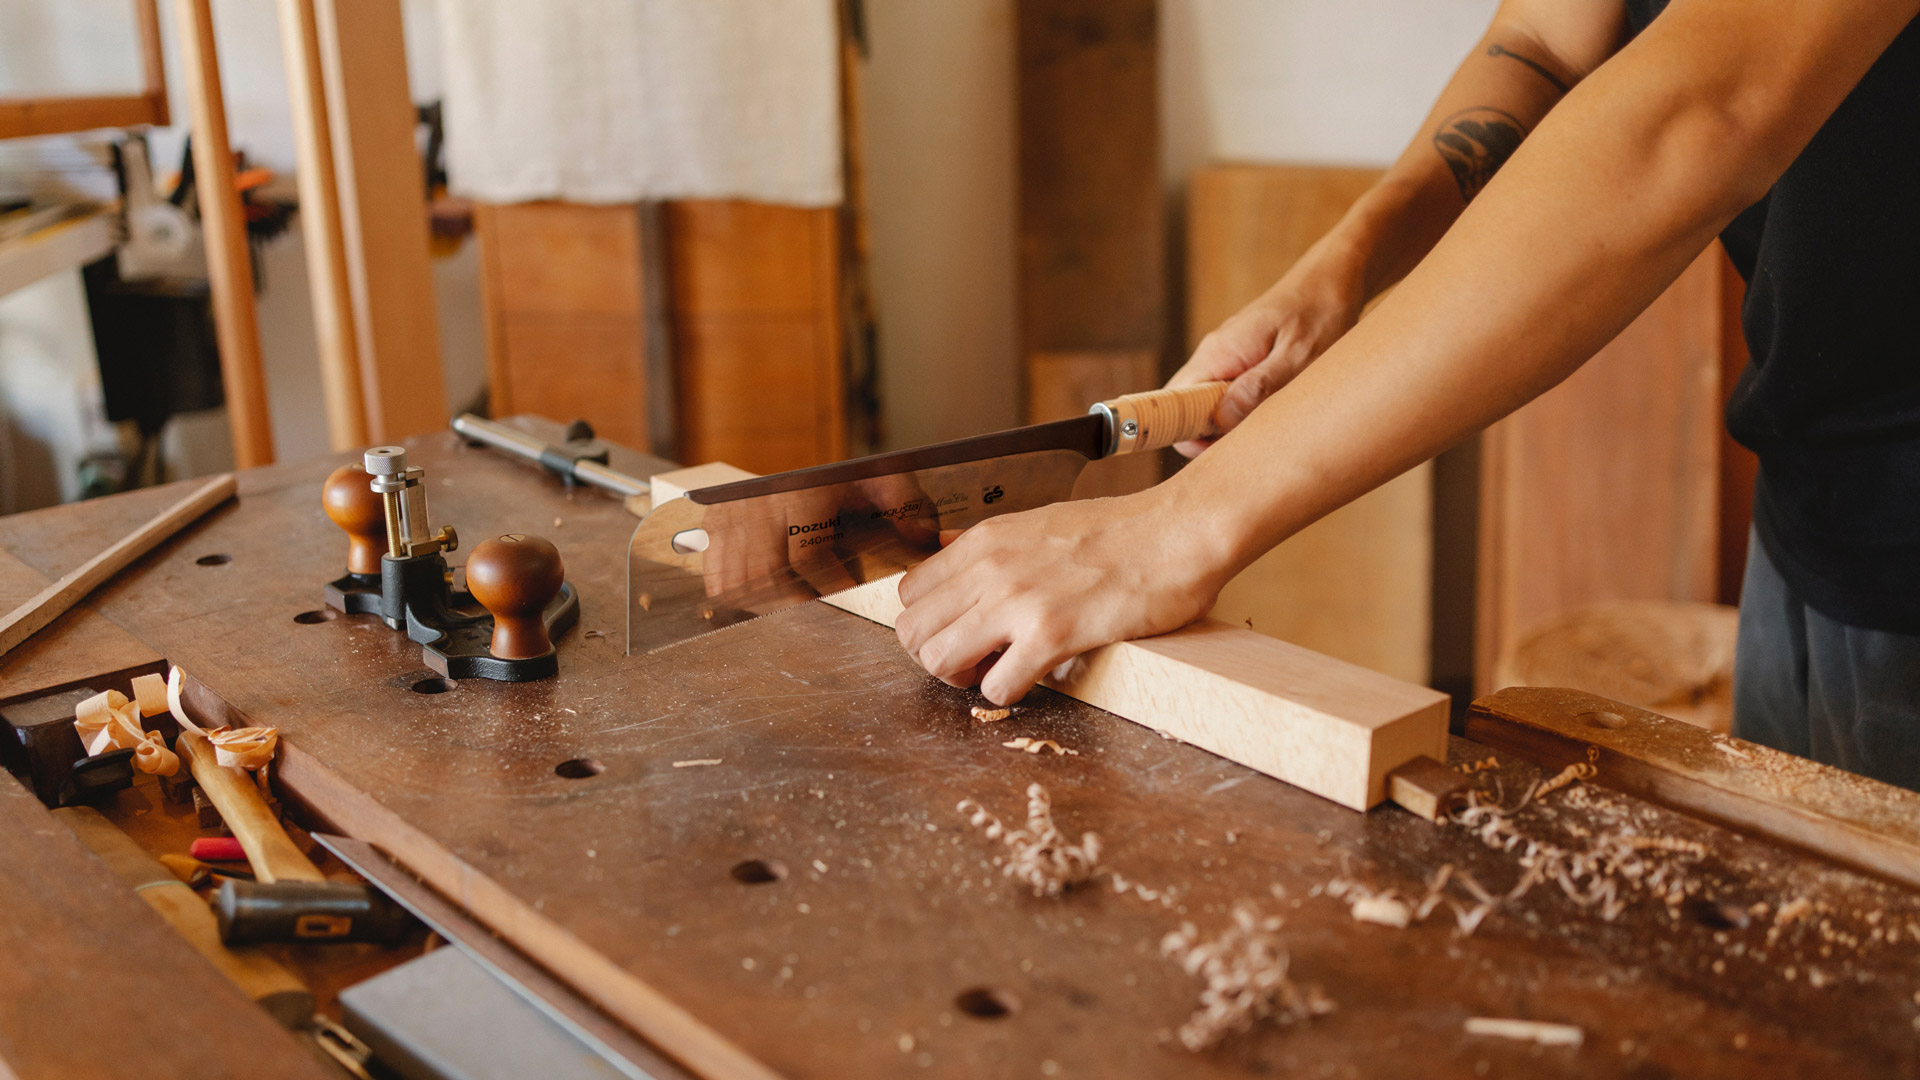
Cutting wood to size
Shorten the wooden slats and squared timber for the side walls and cross struts to uniform lengths. Saw matching shelves from wooden boards. Smooth the cut edges with sandpaper to avoid splinters.
Example of a simple shelf:
10 slats/wood panels for the vertical sides (e.g. 150 cm)
38 slats for the shelves and cross bracing (e.g. 30 cm)
12 shelves (e.g. 30 x 30 cm), with sawn-out corners
Assembling the frame
For the side and, if necessary, center frames, lay two vertical slats parallel to each other and connect them at the top and bottom with cross braces. Screw the connections tight with long wood screws.
Attaching shelves
Mark the desired heights of the shelves on the side frames. Screw the shelf braces to the markings on the frame using wood screws. Use a spirit level to ensure that the struts are straight. When the entire framework of the shelf is ready, the shelves can be inserted. To ensure more stability, small brackets can be screwed under the shelves or diagonal cross connections can be attached to the side frames.
Surface treatment
The entire shelf should be sanded smooth to remove any unevenness and splinters. This is also a good base for painting in the color of your choice. The paint should dry well. Of course, the shelf can also be left untreated if you are only using it for indoor use.
Conclusion
The shelf can now be moved to the desired position. For sufficient stability, you should secure it with two brackets mounted on the wall at the top. You can now place your plants on it.
Have fun!
Tips and hints
Insulation: Depending on the size of the plant wall and the humidity in the room, additional protection of the wall with foil, latex paint or plastic panels may be necessary to prevent mold or water damage.
Material: You can choose between hardwood and softwood for the slats and shelves. Hardwoods (e.g. beech, oak, ash and cherry) are more expensive, but also more stable than softwoods (e.g. spruce, pine, larch and Douglas fir).
Suitable plants: Plants that are long-lasting, easy to care for and do not spread quickly should be chosen for a wall location. These plants cope very well with little water, indirect light and homely temperatures and are therefore ideal: ivy, ferns, single leaf, ivy, monstera, three-master flower, philodendron, succulents, climbing fig or green lily.
More possibilities: You can extend your plant shelf as you wish or create additional storage space for plants, e.g. on the floor or using small hanging shelves. You can also build your own picture frames and use wire mesh to create hanging succulent or moss gardens. This gives you your own personal plant wall for all seasons.