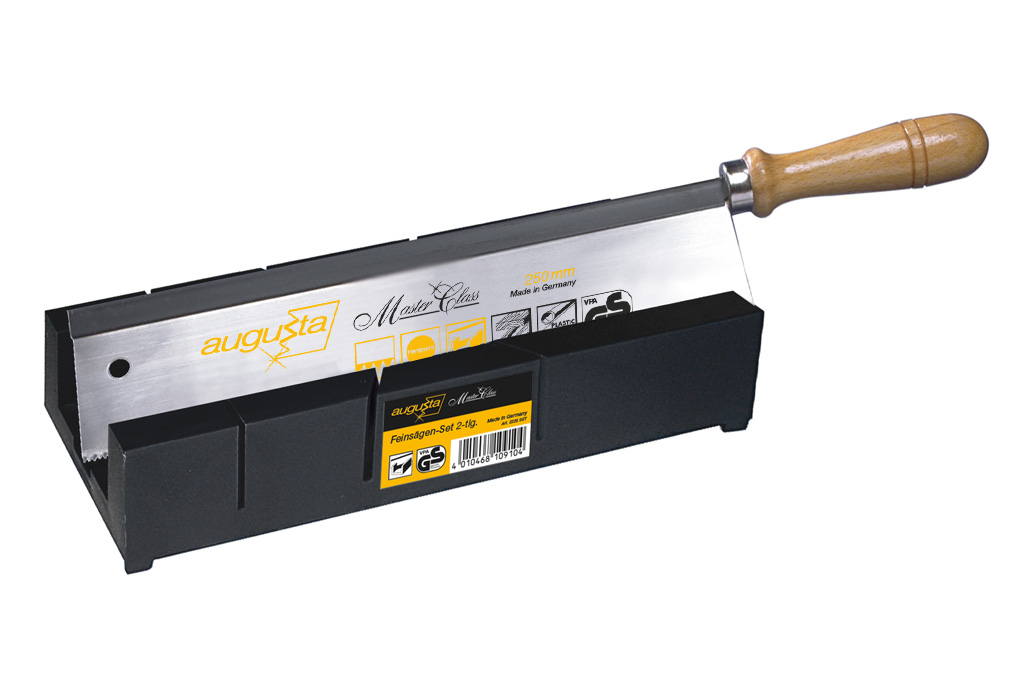
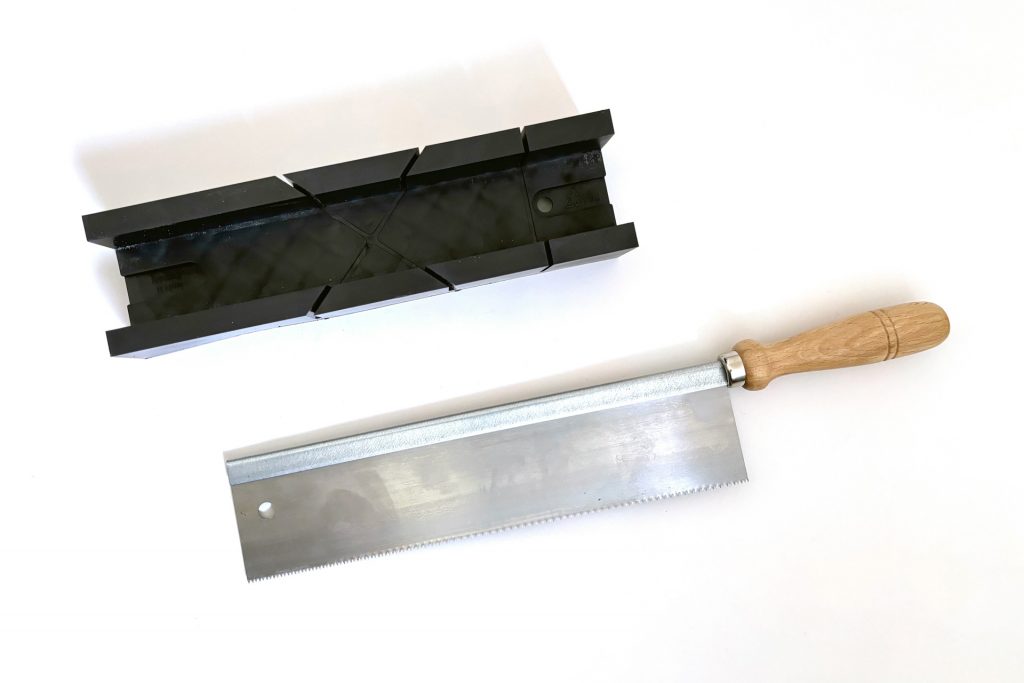
Mitre cuts are often required to join two pieces of wood at a specific angle, usually 45 degrees. A mitre box in combination with a fine saw is an indispensable tool for this. How to make mitre cuts with a mitre box:
Preparing the workpiece
Measure the required length of the workpiece and mark the cutting point with a pencil. Make sure that the mark is made exactly at the point where the cut is to begin. Decide which angle you need. Our mitre box offers guides for 45° and 90° angles.
Setting up the mitre box
Place the mitre box on a stable and non-slip work surface. If possible, secure the mitre box with screw clamps to prevent it from slipping during the sawing process. Place the piece of wood in the mitre box and position it so that the marked cutting line lies exactly in the corresponding guide for the desired angle.
Fixing the workpiece
Use manual clamps to fix the workpiece securely. A firm fixation prevents the wood from slipping during sawing, which increases the precision of the cut.
Positioning the fine saw
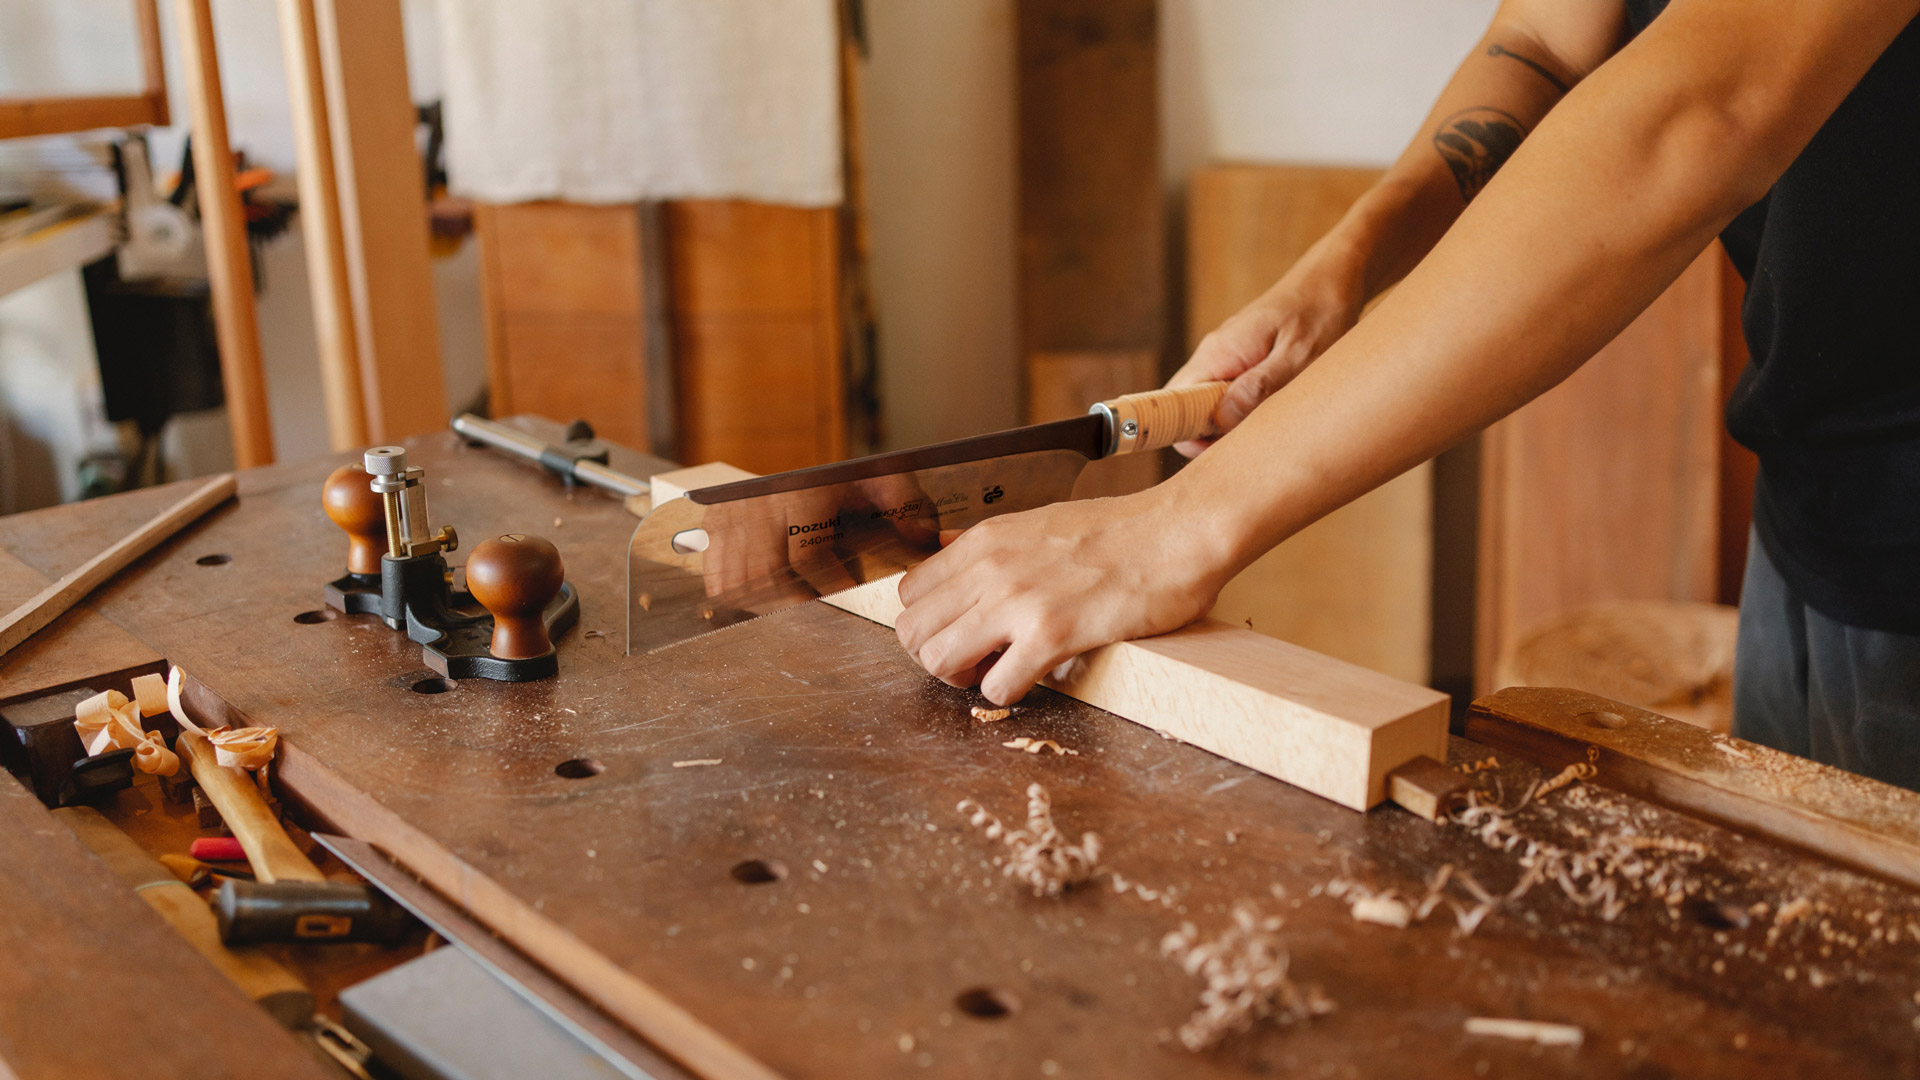
Insert the fine saw into the corresponding guide of the mitre box, which specifies the desired cutting angle. The guide ensures that the saw remains in the correct position and that the cut is made precisely. Position the saw so that the teeth touch the front edge of the marking on the wood.
Performing a miter cut
Guide the saw through the workpiece with light pressure. Start slowly and allow the saw to cut the material through its fine teeth. Avoid applying too much pressure to ensure a clean cut. Move the saw evenly back and forth. Make sure that you keep the saw blade in the guide to ensure an exact angle. Continue until the workpiece is completely sawn through.
Remove and check the workpiece
Carefully remove the workpiece from the mitre box and check the precision of the cut. The cut edge should be smooth and exactly at the desired angle. If necessary, small irregularities can be reworked with sandpaper or a file to ensure a perfect fit.
Repeat for another workpiece
If you need two pieces for a miter joint, repeat the process for the second workpiece. Make sure that the miter cuts are mirror images of each other so that they fit together correctly.
Tips for perfect miter cuts
Always use a sharp fine saw to achieve clean and precise cuts.
Precise measuring and marking before cutting are crucial for accuracy.
A well-fixed workpiece prevents slipping and ensures precise cuts.
Practice on waste pieces first to get a feel for the sawing movement and the correct pressure.